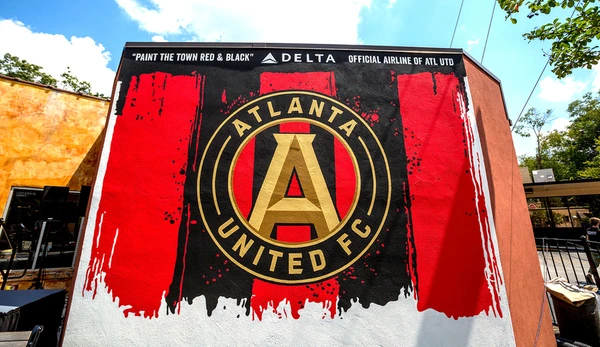
Murals are far more than decorative paintings — they are public statements, emotional landscapes, and community touchstones. Their creation requires artistic vision, rigorous planning, coordination, and craftsmanship. Here’s a deep, step-by-step look into the fascinating process that turns a blank wall into a stunning piece of art.
1. From Idea to Design: Defining the Soul of the Mural
Every mural begins with a story—sometimes told in words, sometimes in images. This story might reflect the identity of a neighborhood, the values of a business, or the artist’s personal journey. Before pencil touches paper, time is spent brainstorming: What does this space need to say? Who is it speaking to?
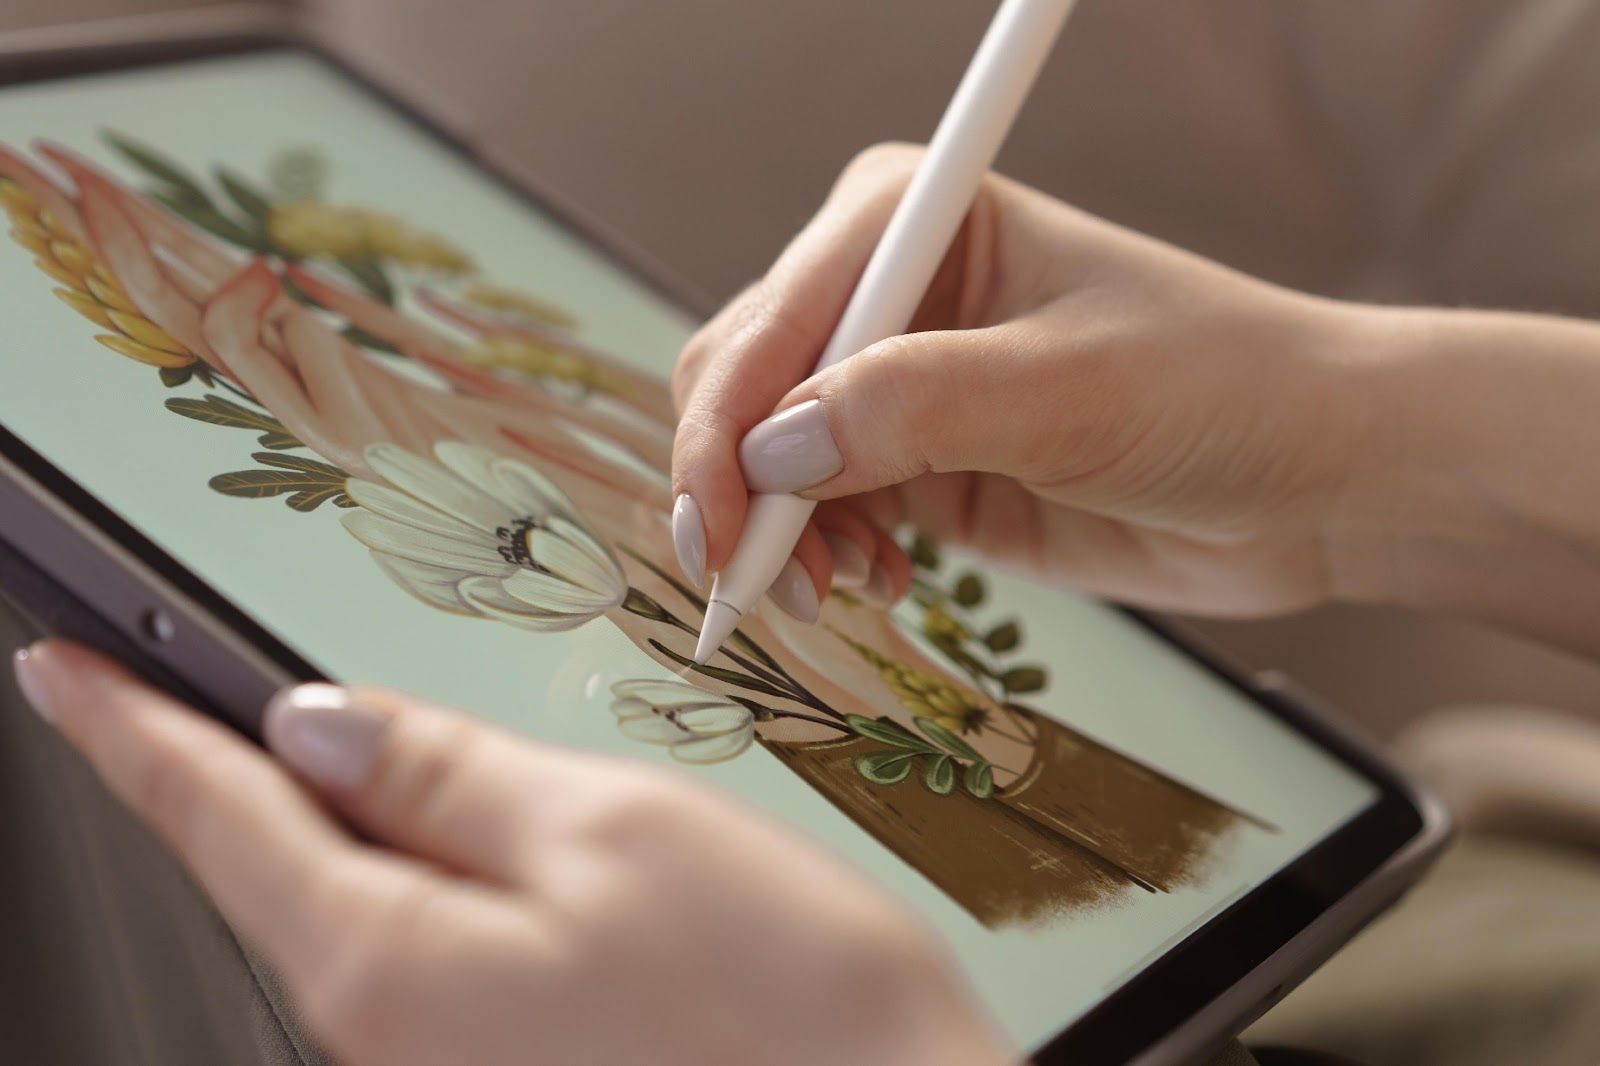
The artist will then begin translating the concept into a design. Today, many use digital tools to experiment with compositions, color schemes, and scale. Others prefer to sketch by hand, layering ideas slowly until the final vision comes together. The design must consider the wall’s proportions, textures, architectural features, and surrounding environment.
2. Scaling Up: Drawing or Printing Full-Size Patterns
Once the design is approved, it must be scaled to match the wall’s dimensions. This is usually done by printing or drawing the image at full scale on sheets of kraft or bond paper. These massive drawings, known as “cartoons” (from the Renaissance term), function as a blueprint for transferring the artwork to the wall.
This stage is especially important for maintaining accurate proportions. Drawing at full scale allows the artist to see how the image will physically interact with doors, windows, or textures in the wall. Any necessary adjustments are easier to make on paper than on a scaffold.
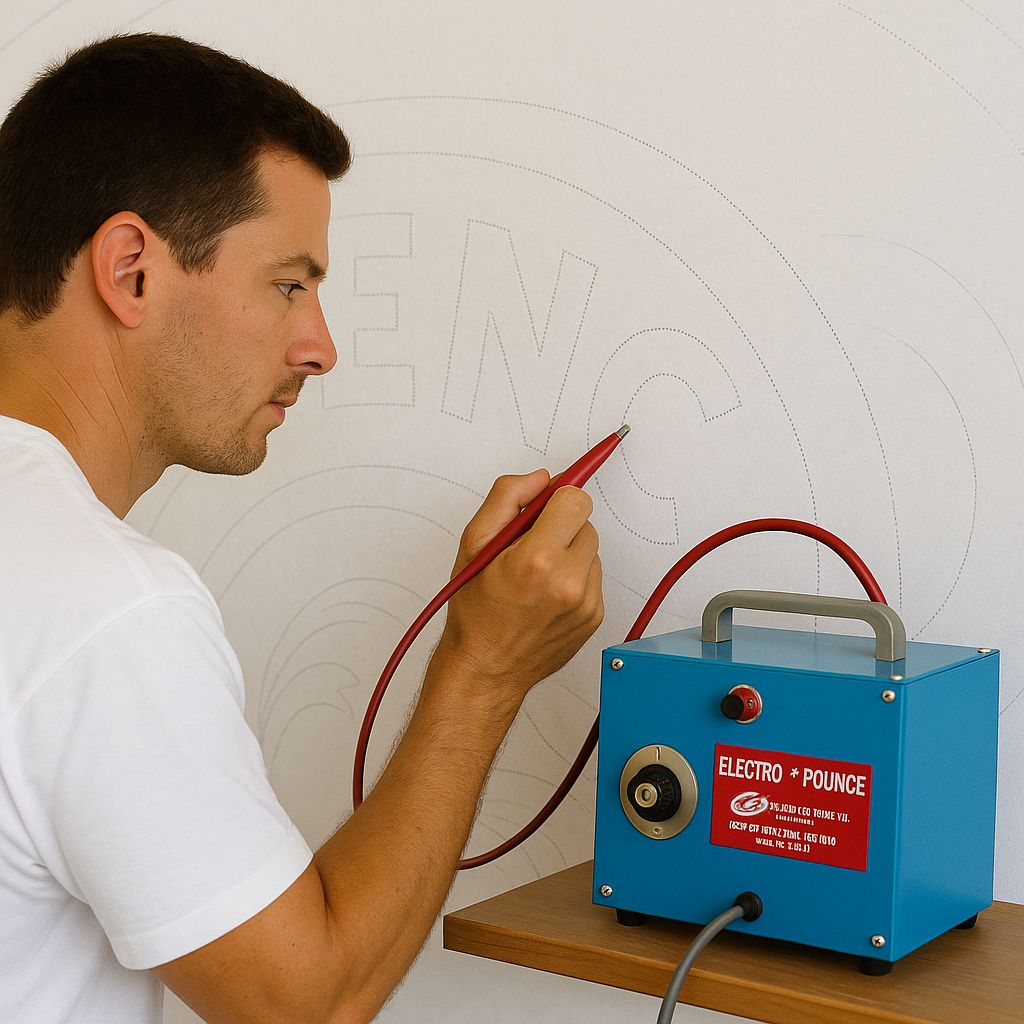
3. Pouncing: The Transfer Technique That’s Stood the Test of Time
To transfer the full-size design onto the wall, muralists often use a centuries-old method called “pouncing.” First, the outlines on the paper pattern are perforated using a needle wheel or pounce machine, creating a dotted line of holes along every important contour of the image.
4. Charcoal Refinement: Solidifying the Drawing on the Wall
The pattern is then taped or pinned to the wall. A small bag filled with powdered charcoal (or chalk for light walls) is gently dabbed over the lines. The dust seeps through the tiny holes, leaving a dotted outline on the surface.
After removing the paper pattern, the wall reveals a soft, dotted version of the design. Artists then carefully connect the dots using charcoal or a light pencil, refining the shapes, adjusting proportions if needed, and prepping the wall for paint.

This part is often when the muralist makes micro-decisions—should this curve be sharper? Should that eye be raised a few inches? Working directly on the wall, the design starts to feel alive. It’s no longer a concept — it’s an image embedded in the space.
5. Charcoal Refinement: Solidifying the Drawing on the Wall
With the outline in place, the real transformation begins. Artists start painting the large background areas first, then block in midtones and build up details in layers. Techniques vary: some use brushes and rollers, others spray paint, or a combination of both. Every stroke adds depth, personality, and motion to the wall.
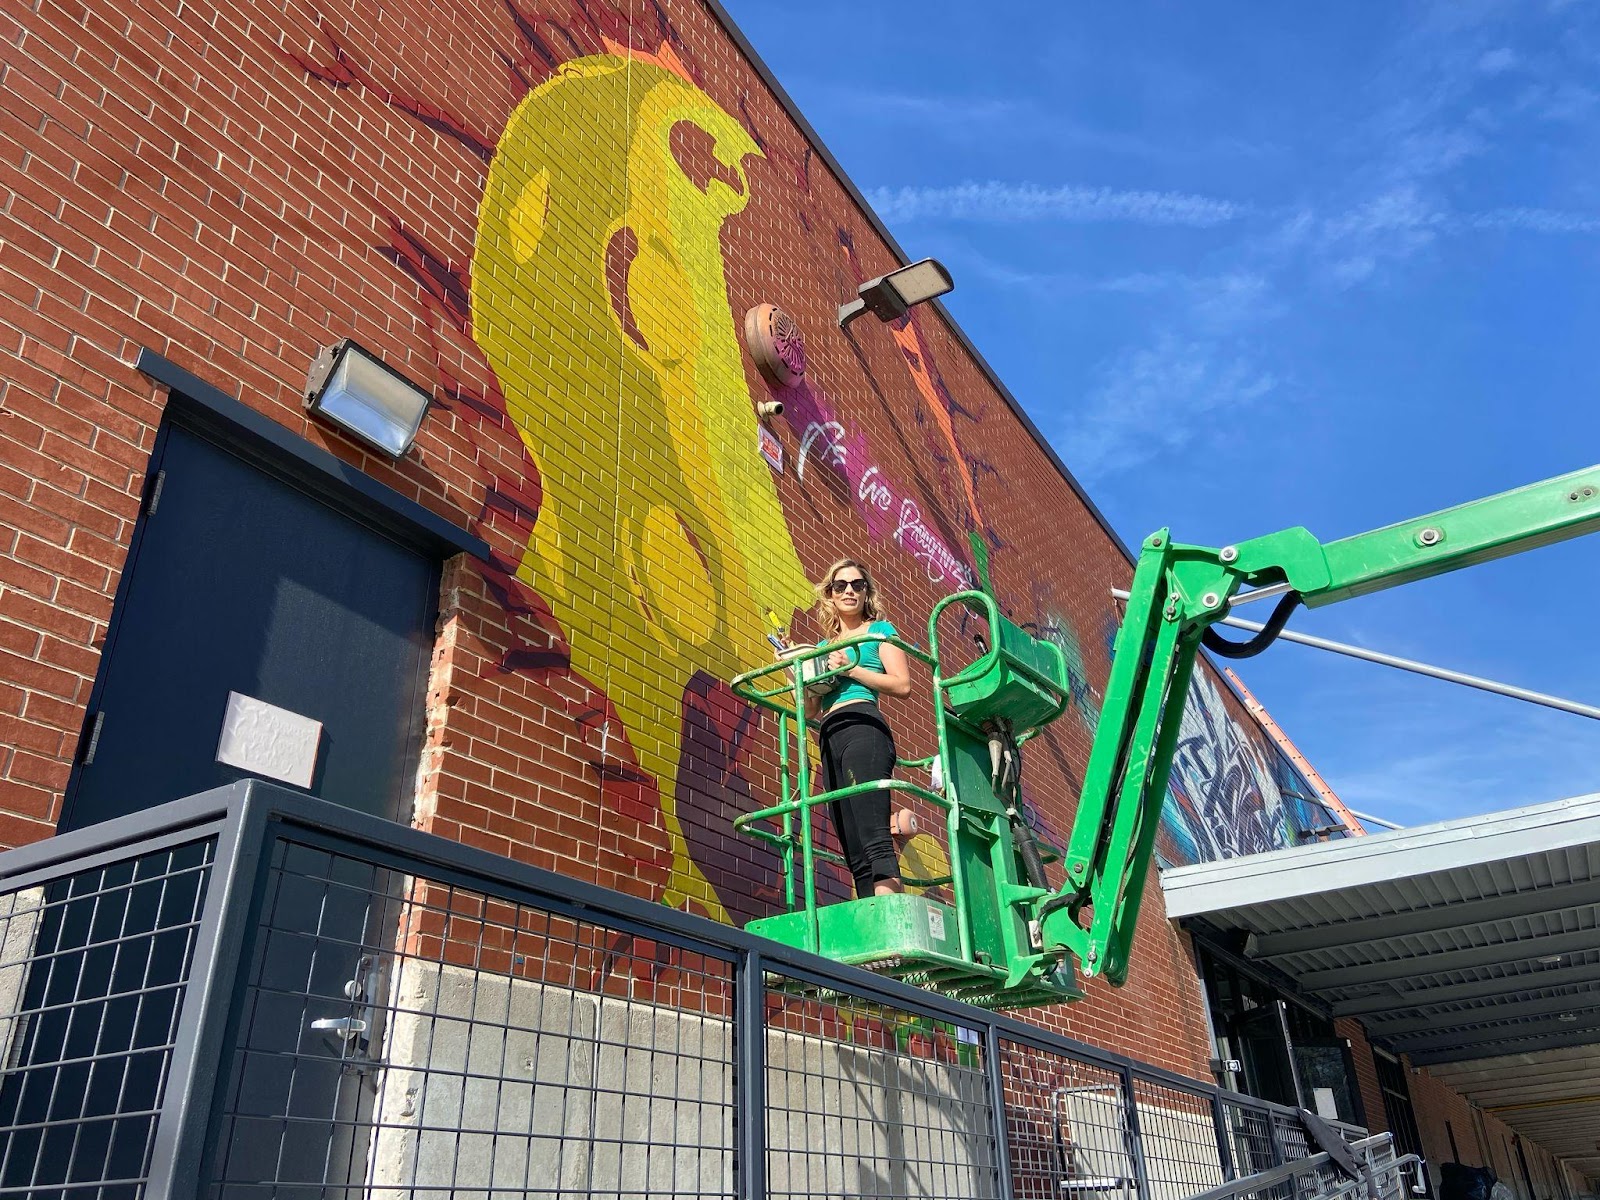
The choice of paint depends on the project. For outdoor murals, high-quality exterior acrylics are often used for longevity. Texture, opacity, and drying time all play a role in how colors are layered. Depending on the complexity, this stage can take anywhere from a few days to several weeks. It’s physically intense: the artist often paints while climbing scaffolds, battling weather conditions, and maneuvering equipment in challenging spaces.
6. Charcoal Refinement: Solidifying the Drawing on the Wall
When the mural is nearly complete, the artist steps back frequently to evaluate the piece from a distance. Final adjustments are made: shadows are sharpened, lines are refined, and colors are balanced. Once satisfied, a protective coating is applied. This can be a clear UV-resistant sealer, an anti-graffiti shield, or a moisture-resistant sealant, depending on the conditions the mural will face. This step is crucial — it preserves the integrity of the colors and helps the mural resist weather, pollution, and fading over time.
More Than Just Paint on a Wall
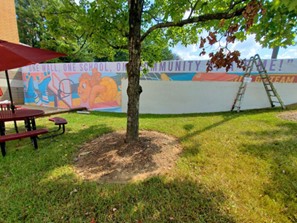
The creation of a mural is not just a job — it’s an act of storytelling and place-making. From the first sketch to the final seal, every step carries intention. Murals enrich communities, spark dialogue, and turn otherwise forgotten walls into beacons of beauty and culture. Whether viewed by drivers passing by, pedestrians stopping to take a photo, or residents seeing it daily, a mural becomes part of the landscape — an enduring testament to the power of art in public space.